Boutonnieres are a beautiful addition to any formal attire, adding a touch of elegance and personality to your ensemble. However, mastering the art of pinning a boutonniere correctly can sometimes be a challenge. Fear not! In this guide, we’ll walk you through the steps to ensure your boutonniere stays securely in place throughout your event.
Step 1: Gather Your Supplies Before you begin, make sure you have all the necessary supplies handy:
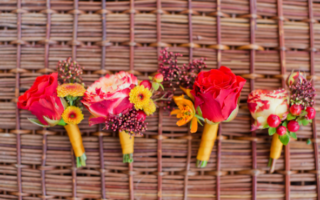
- Boutonniere: Choose a fresh, well-made boutonniere that complements your outfit.
- Straight pin: Opt for a sturdy straight pin, preferably with a sharp point.
- Optional: Floral tape or ribbon (if not provided with the boutonniere).
Step 2: Prepare the Boutonniere Inspect the boutonniere to ensure it’s in good condition. If the stem is too long, trim it to a suitable length, leaving about an inch or so to work with. If the boutonniere lacks a backing, use floral tape or ribbon to secure the stem and prevent it from drooping.
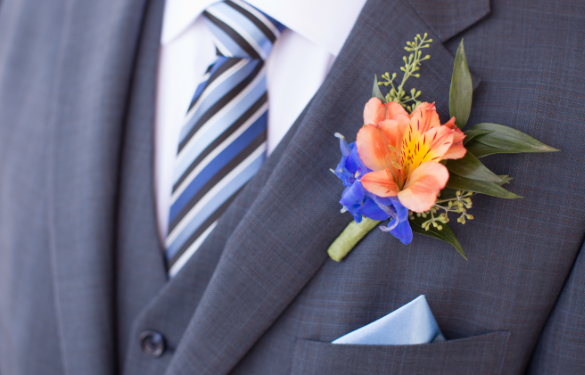
Step 3: Locate the Lapel Buttonhole Position the boutonniere on the left lapel of your jacket, aligning it with the buttonhole. If your jacket doesn’t have a designated buttonhole, create a small slit using scissors or a seam ripper. Ensure the boutonniere sits at a slight angle, pointing upwards towards your shoulder.
Step 4: Insert the Pin Hold the boutonniere firmly in place with one hand while using the other hand to insert the pin diagonally through the fabric of the lapel, then through the stem of the boutonniere. Be careful not to prick yourself or damage the flowers. Aim to pin through the thickest part of the stem to provide adequate support.
Step 5: Secure the Pin Once the pin is through both the lapel and the stem, push it back out through the fabric, forming a diagonal line. Make sure the pin is fully inserted and lies flat against the lapel. Wiggle it slightly to ensure it’s secure.
Step 6: Check for Stability Gently tug on the boutonniere to ensure it’s firmly attached. If it feels loose, reposition the pin or add an additional pin for extra security. Avoid over-pinning, as this can damage the fabric or cause discomfort.
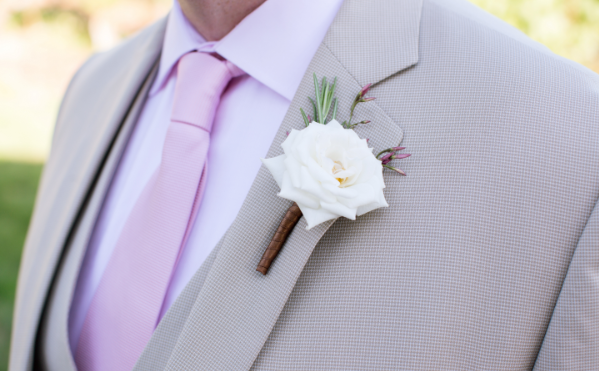
Step 7: Final Adjustments Step back and assess the placement of the boutonniere. Make any necessary adjustments to ensure it’s positioned correctly and complements your overall look. Straighten any bent petals or leaves for a polished finish.
Conclusion: With these simple steps, you can confidently pin a boutonniere like a pro, adding the perfect finishing touch to your formal attire. Remember to handle the boutonniere with care and take your time to achieve the desired result. Whether it’s for a wedding, prom, or any special occasion, a well-pinned boutonniere is sure to make a statement.